How to Contour Your Face Shape: Step-by-Step Guide
Hi friend! 💄
Contouring has a reputation for being complicated, but I promise it’s much simpler once you understand the actual goal. You’re not trying to create a completely different face. You’re just gently enhancing the shadows and highlights your face naturally has.
The real secret to great contouring isn’t a fancy technique. It’s knowing your own face shape and placing product where it will actually flatter you, instead of following a generic diagram that might not fit your features at all.
In this guide, I’m walking you through exactly how to contour step by step, then breaking down specific placement for every face shape. By the end, you’ll know exactly where to place your contour, no guesswork required.
Let’s get started.
Quick Guide
Best For: Beginners, Everyday Makeup, Special Occasions, Every Face Shape
Products Needed: Contour stick or palette, blending sponge or brush, highlighter
Budget: $ to $$
Difficulty: Easy to Moderate
What You’ll Need Before You Start
Before we get into technique, let’s talk tools, because the right products make this so much easier.
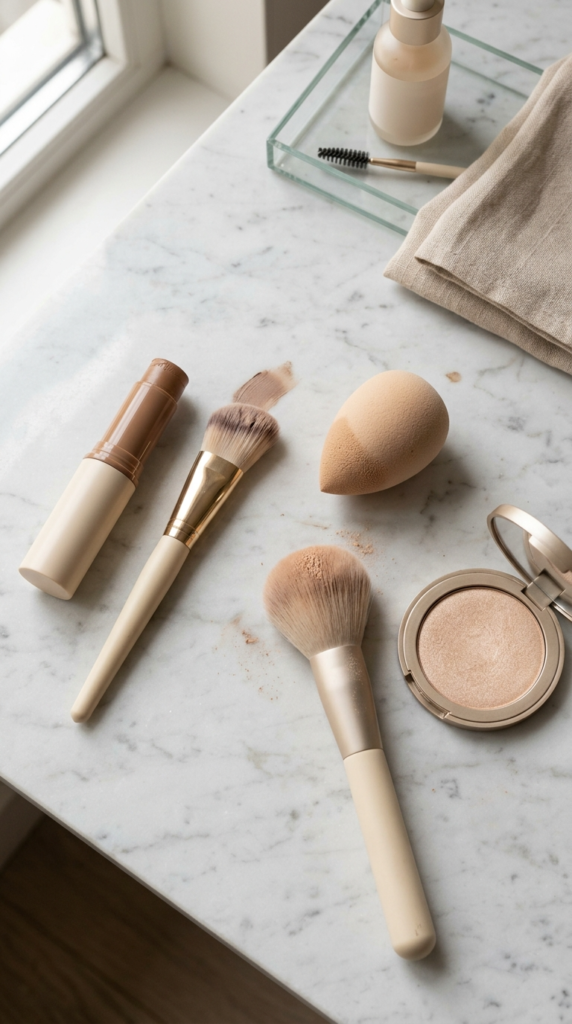
A cream or powder contour in a cool-toned shade. Your contour shade should mimic a natural shadow, so look for something one or two shades cooler and deeper than your skin tone. Warm, orange-toned contour shades tend to look muddy rather than shadow-like.
A dense, angled brush or a damp makeup sponge. Cream contour blends beautifully with a damp sponge, while powder contour is easier to control with a smaller, angled brush.
A highlighter for contrast. Contour creates shadow, but a touch of highlighter on the high points of your face is what makes the whole effect look three-dimensional rather than flat.
A few products worth having on rotation:
- Cream Contour Stick — Shop on Amazon
- Powder Contour Palette — Shop on Amazon
- Angled Contour Brush — Shop on Amazon
- Makeup Blending Sponge — Shop on Amazon
- Cream Highlighter — Shop on Amazon
Nadia’s Beauty Tip When in doubt, choose a cream contour over a powder one if you’re a beginner. Cream formulas are more forgiving and much easier to blend seamlessly into the skin with just a sponge or your fingertips.
Step-by-Step: How to Contour (Universal Technique)
Step 1: Identify Your Face Shape
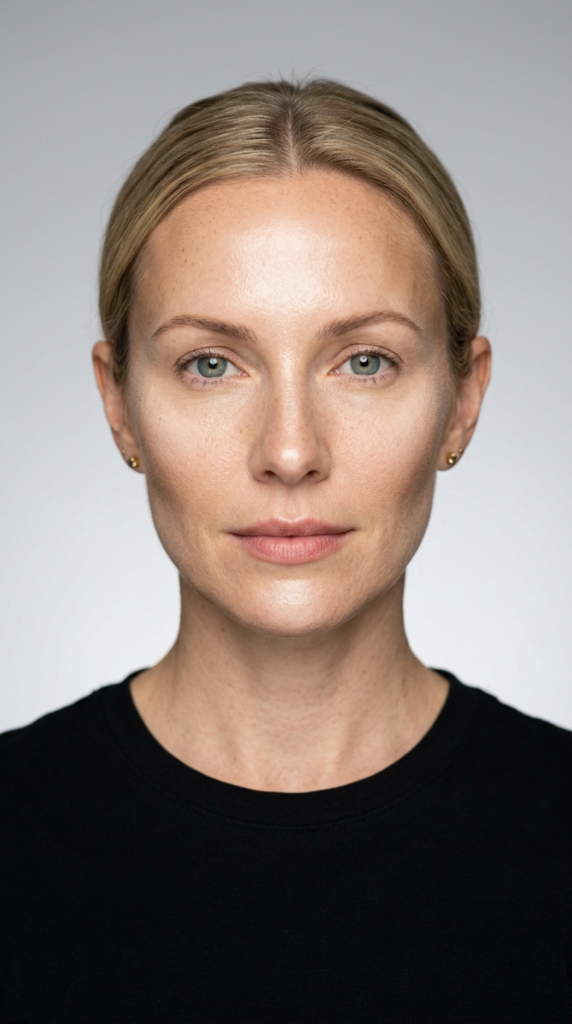
Before placing any product, take a moment to identify your face shape. Pull your hair back, look straight into a mirror, and trace the outline of your face with a washable eyeliner or lip liner if it helps. We’ll cover exact placement for every shape below.
Step 2: Apply Foundation First
Always contour after your foundation and concealer, not before. Contouring is meant to enhance your base, not replace it, so make sure your skin is evened out first.
Step 3: Place Your Contour Shade
Apply your contour shade to the areas that should appear shadowed, following the placement guide for your specific face shape below. Use small, light strokes rather than one thick line.
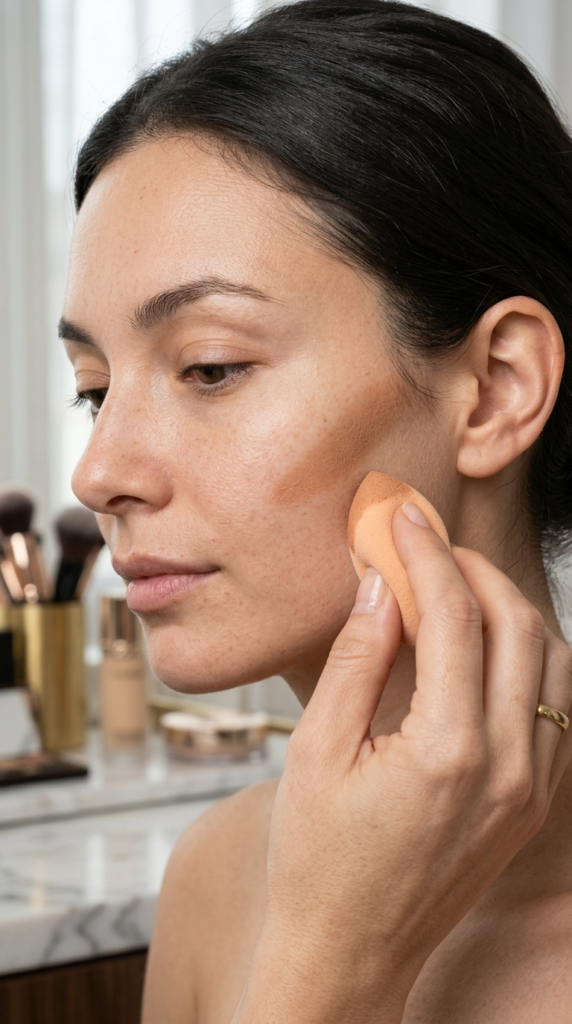
Step 4: Blend Immediately
Blend your contour thoroughly using a damp sponge or brush before it sets, especially if you’re using a cream formula. The goal is a soft gradient with no harsh lines, not a visible stripe of color.
Step 5: Add Highlighter to the High Points
Apply a touch of highlighter to the tops of your cheekbones, the bridge of your nose, your cupid’s bow, and your brow bone. This creates the contrast that makes your contour look dimensional.
Step 6: Set and Blend Again
If you’re using a cream contour, set it lightly with translucent powder once you’re happy with the placement. Do one final blend with a clean brush to soften any remaining lines.
Nadia’s Beauty Tip Always blend in upward and outward motions, following the natural curve of your face. Blending straight up and down can create harsh lines instead of a soft, natural gradient.
Contouring by Face Shape
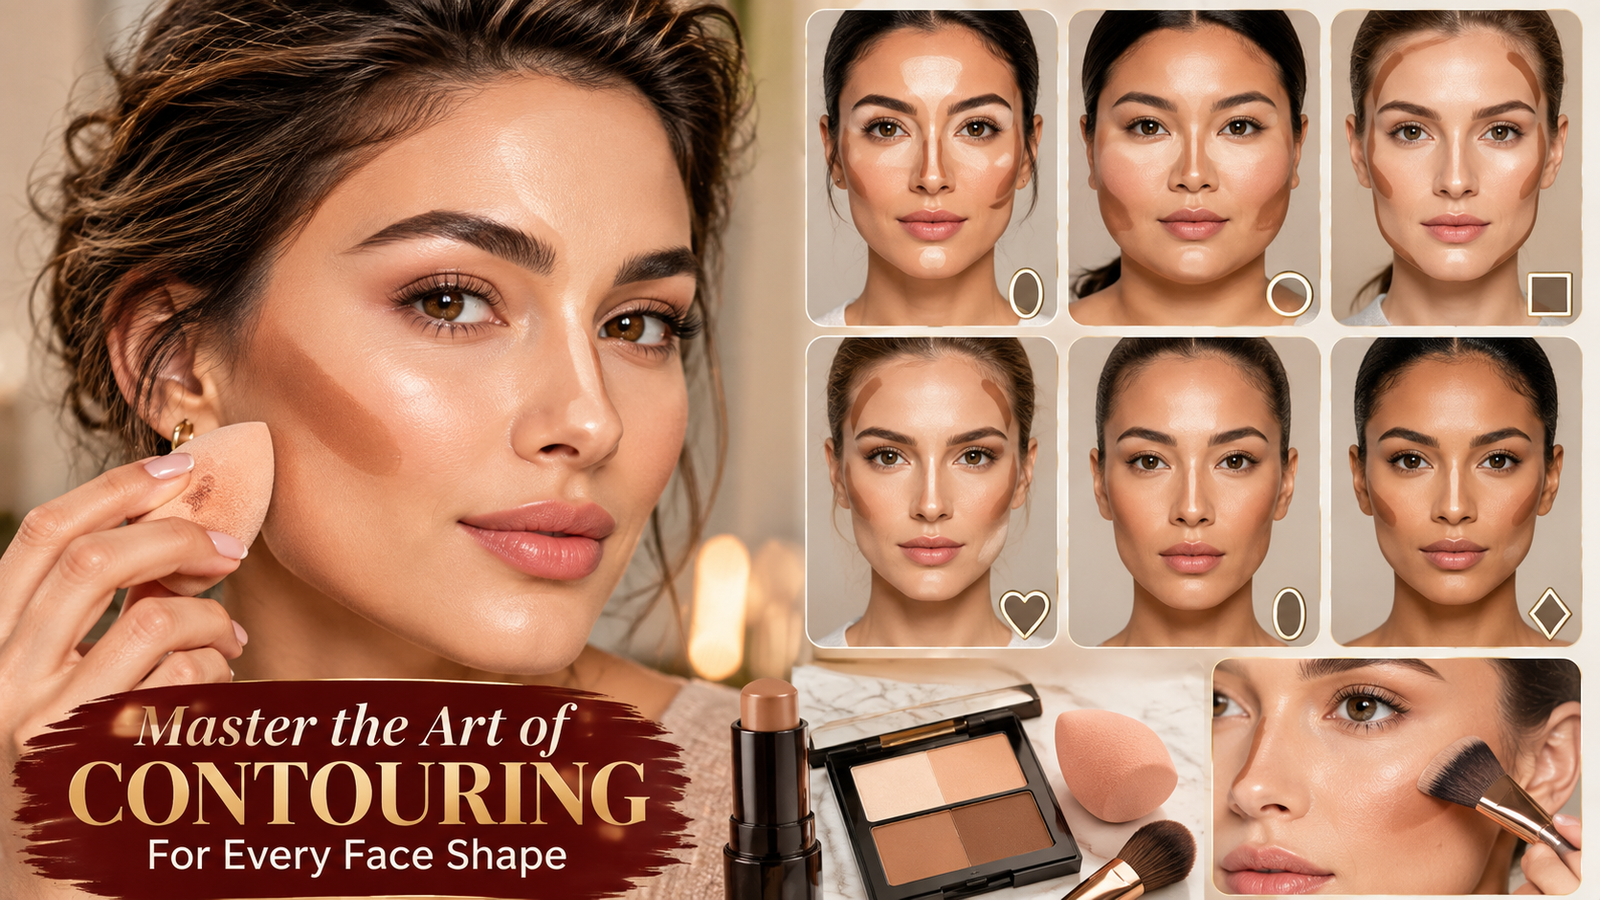
Oval Face Shape
An oval face is naturally balanced, so the goal here is simply enhancement rather than correction. Apply a light contour just beneath your cheekbones and along your hairline for subtle definition.
Contour placement: Below the cheekbone, along the temples
Skip: Heavy contouring on the jawline, since it isn’t needed for this shape
Round Face Shape
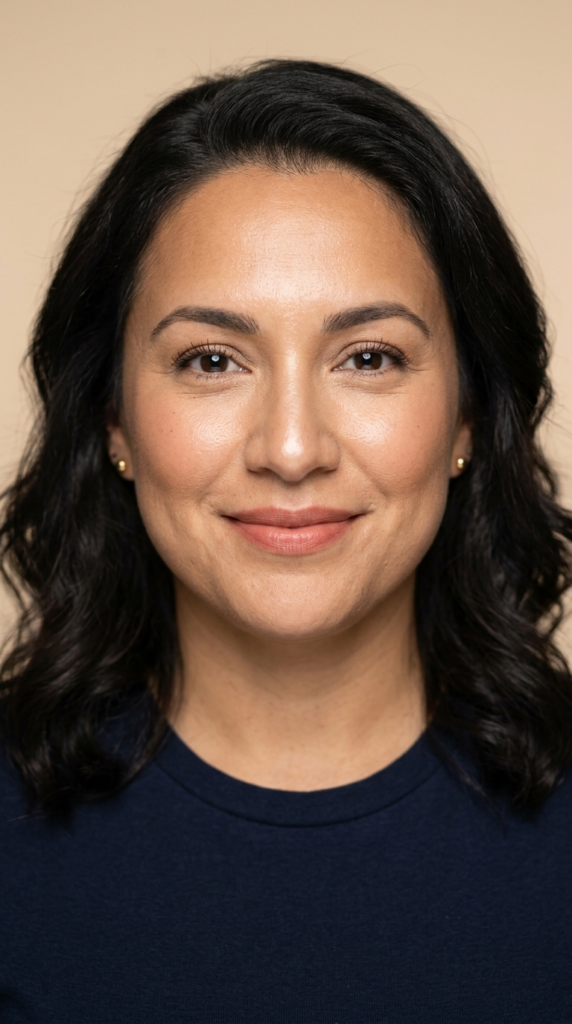
Round faces tend to have similar width and length with soft, curved edges. The goal is to add subtle angles and create the illusion of more length.
Contour placement: Along the outer edges of the forehead, beneath the cheekbones in a diagonal line toward the ear, and lightly along the jawline
Highlight placement: Down the center of the forehead, nose, and chin to elongate the face
Square Face Shape
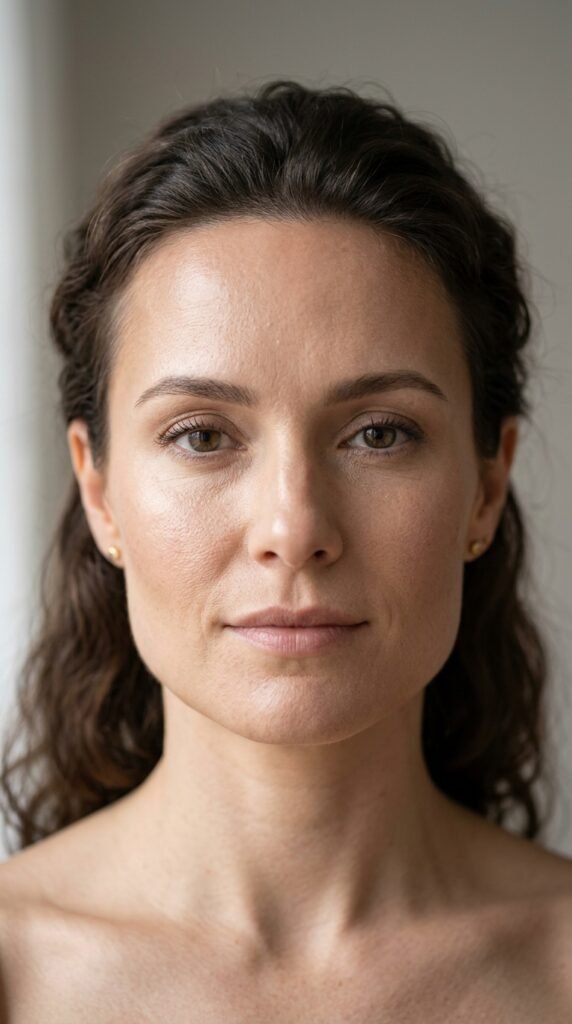
Square faces have a strong, angular jawline and a forehead of similar width. The goal is to soften those sharp angles slightly.
Contour placement: At the corners of the forehead and along the outer corners of the jawline to soften the angles
Highlight placement: Center of the forehead, nose, and chin
Heart Face Shape
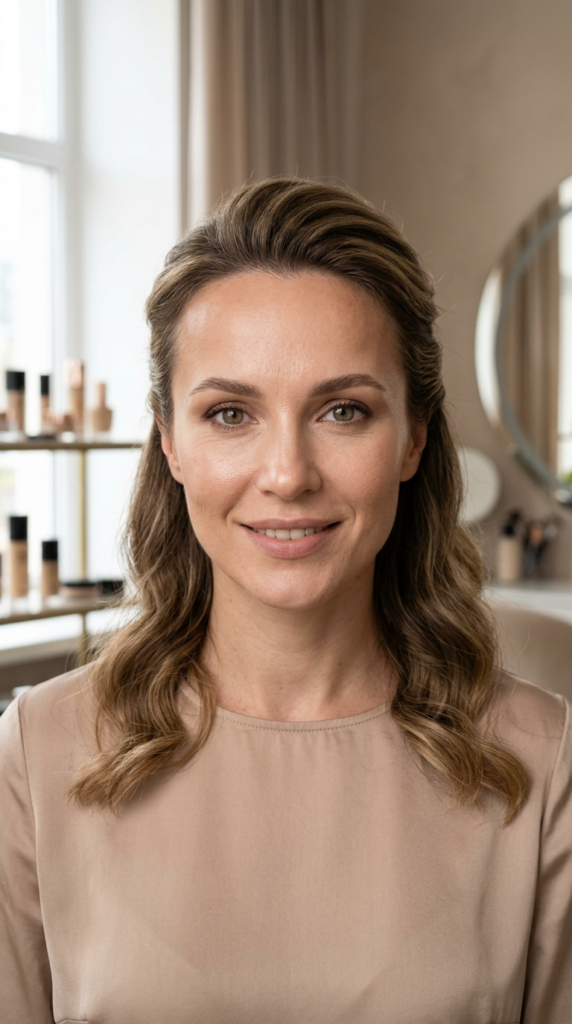
A heart-shaped face has a wider forehead that tapers down to a narrower, sometimes pointed chin. The goal is to balance the width at the top with the narrower bottom half.
Contour placement: Along the outer edges of the forehead to minimize width, with a light touch along the jawline
Highlight placement: Center of the chin to add a bit of visual width at the bottom of the face
Long or Oblong Face Shape
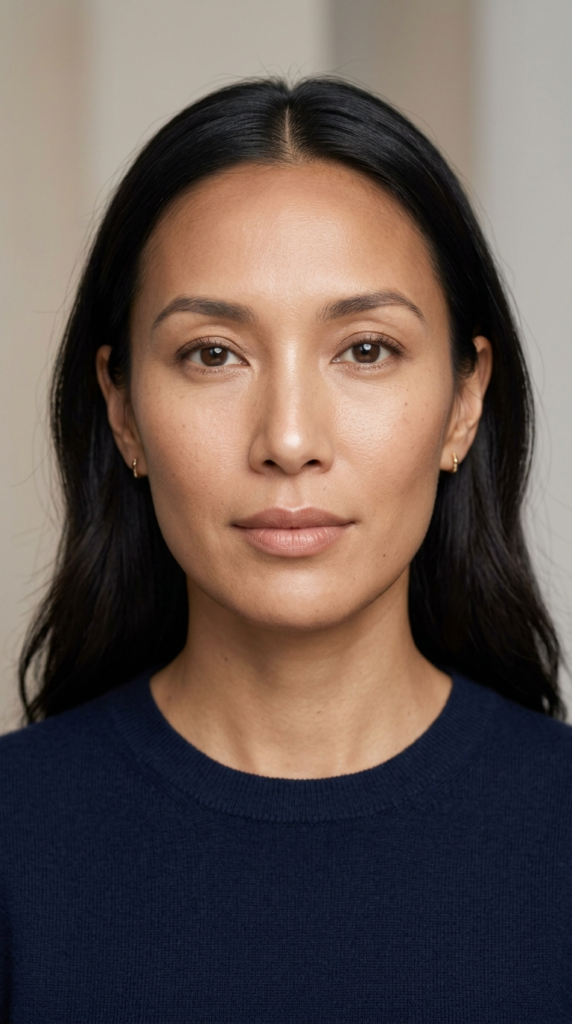
A long face shape is longer than it is wide, often with a longer forehead and chin. The goal here is to create the illusion of more width and less length.
Contour placement: Along the very top of the forehead and the very bottom of the chin to shorten the appearance of length
Highlight placement: Across the center of the cheeks horizontally rather than vertically down the face
Diamond Face Shape
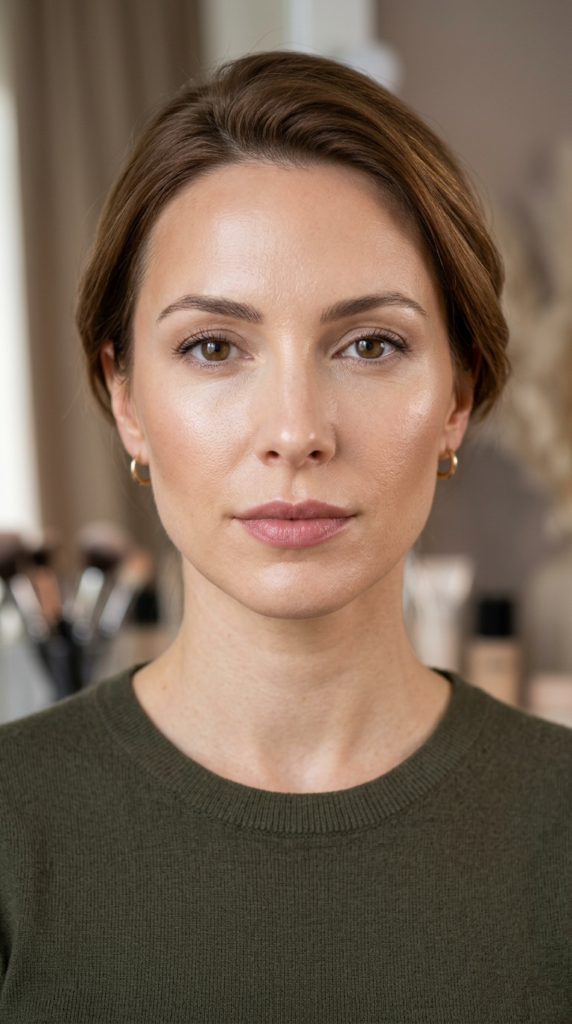
A diamond face shape is widest at the cheekbones, with a narrower forehead and chin. The goal is to soften the width at the cheekbones while balancing the narrower areas.
Contour placement: Directly on the cheekbones themselves to soften their prominence
Highlight placement: Center of the forehead and chin to add width to those narrower areas
Nadia’s Beauty Tip Not sure which face shape you have? Most people are actually a combination of two shapes rather than one exact category. Use the placement guide for your closest match, and adjust based on what you see reflected back in the mirror.
Makeup Artist Tips for a Natural-Looking Contour
- Use less product than you think you need. You can always build up gradually, but it’s much harder to soften an overly dark contour.
- Blend before you set. Cream contour needs to be blended while it’s still movable, so work quickly.
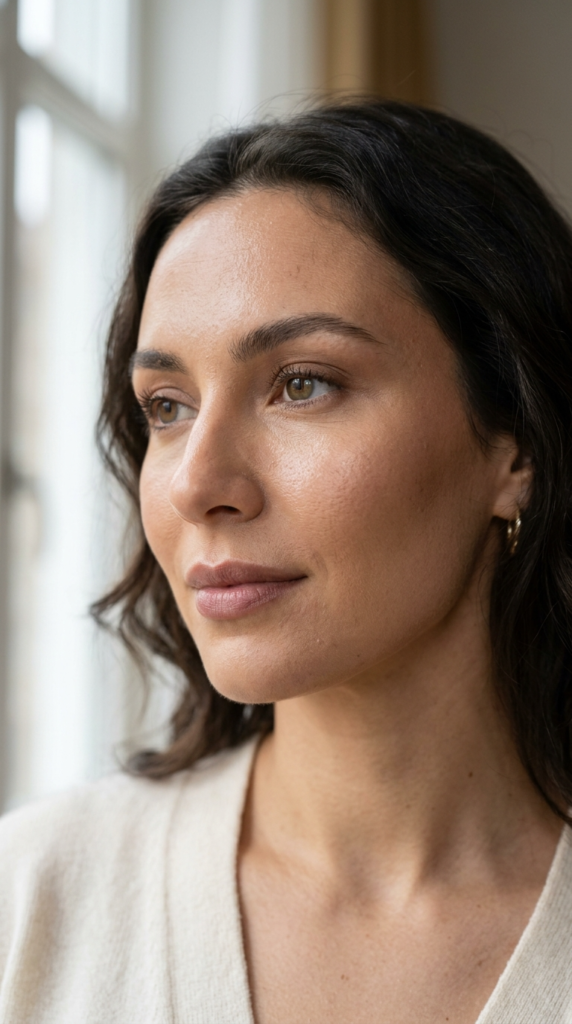
- Match your contour to your face’s natural shadows. Look at your face in natural, directional light to see where shadows fall naturally, and mirror that placement.
- Don’t skip the neck. A face that’s contoured and highlighted but a neck that isn’t can create a visible line of demarcation, especially in photos.
- Reassess in natural light. Contour that looks perfect under artificial bathroom lighting can look very different in daylight, so always double check before heading out.
- Contour and bronzer aren’t the same thing. Contour creates shadow with a cool-toned shade, while bronzer adds warmth with a sun-kissed tone. Using bronzer as a substitute for contour often looks more like dirt than shadow.
Common Contouring Mistakes to Avoid
- Choosing a shade that’s too warm or orange. Your contour should mimic a shadow, which means a cool, ashy undertone works best.
- Applying too much product. A little goes a long way. Build gradually rather than applying a thick layer all at once.
- Skipping the blend step. Unblended contour reads as a stripe of color rather than a natural shadow.
- Using the same placement for every face shape. What flatters one face shape may not suit another, so always tailor placement to your own features.
- Forgetting highlighter. Contour alone can look flat without the contrast highlighter provides.
- Not checking your work in natural light. Always step near a window or natural light source before considering your contour finished.
Frequently Asked Questions
What is the easiest way to contour for beginners? Starting with a cream contour stick and a damp sponge is the most beginner-friendly method, since cream formulas are easier to blend than powder.
How do I know my face shape for contouring? Pull your hair back, look straight into a mirror, and trace your face’s outline. Compare it to the six common shapes: oval, round, square, heart, long, and diamond.
Should contour be lighter or darker than my skin tone? Contour should be one to two shades deeper and cooler-toned than your natural skin tone to mimic a shadow.
What’s the difference between contouring and bronzing? Contouring uses a cool-toned shade to create shadow and shape, while bronzing uses a warm-toned shade to add a sun-kissed glow. They serve different purposes.
Do I need special tools to contour? A damp makeup sponge or a dense, angled brush works well for most contour formulas, though a sponge tends to be more forgiving for beginners.
How do I blend contour so it doesn’t look harsh? Blend immediately after applying, using upward and outward motions that follow your face’s natural curves.
Can I contour without a full face of makeup? Yes, a light contour can be applied over just moisturizer or a light tinted product for a more natural, everyday look.
How often should I reapply contour throughout the day? Most contour holds up well through a full day, though a light touch-up may be needed after several hours, especially in warm weather.
Conclusion
There you have it, friend. A complete, step-by-step guide to contouring your specific face shape, no generic diagrams required.
The real key to a natural-looking contour is understanding your own features and placing product with intention rather than following a one-size-fits-all approach. Take your time, blend thoroughly, and check your work in natural light. With a little practice, contouring becomes second nature.
Save this post to Pinterest so you have it ready the next time you’re refining your routine.
More Beauty Inspiration
Looking for more beautiful beauty and style inspiration? Visit Nadia Daily Living for makeup tips, everyday beauty routines, affordable product recommendations, and beauty ideas you’ll love.
Keep the beauty inspiration going with these reader favorites:
- 25 Blush and Bronzer Makeup Looks for Everyday Wear
- Best Liquid Blush Products for a Natural Flush (Editor Picks)
Happy Glowing!
— Nadia James
Founder & Editor Nadia Daily Living