25 Cute Clay Figure Ideas Anyone Can Make at Home
Hi friend! 🎨
If you’ve been seeing adorable little clay figures all over Pinterest lately, you’re definitely not alone. There’s something so satisfying about shaping a tiny character with your own hands and watching it turn into something you actually want to keep on your shelf.
The best part is you don’t need any real art skills to get started. Most of these clay figure ideas use just a few basic shapes, a little patience, and air-dry clay you can find almost anywhere.
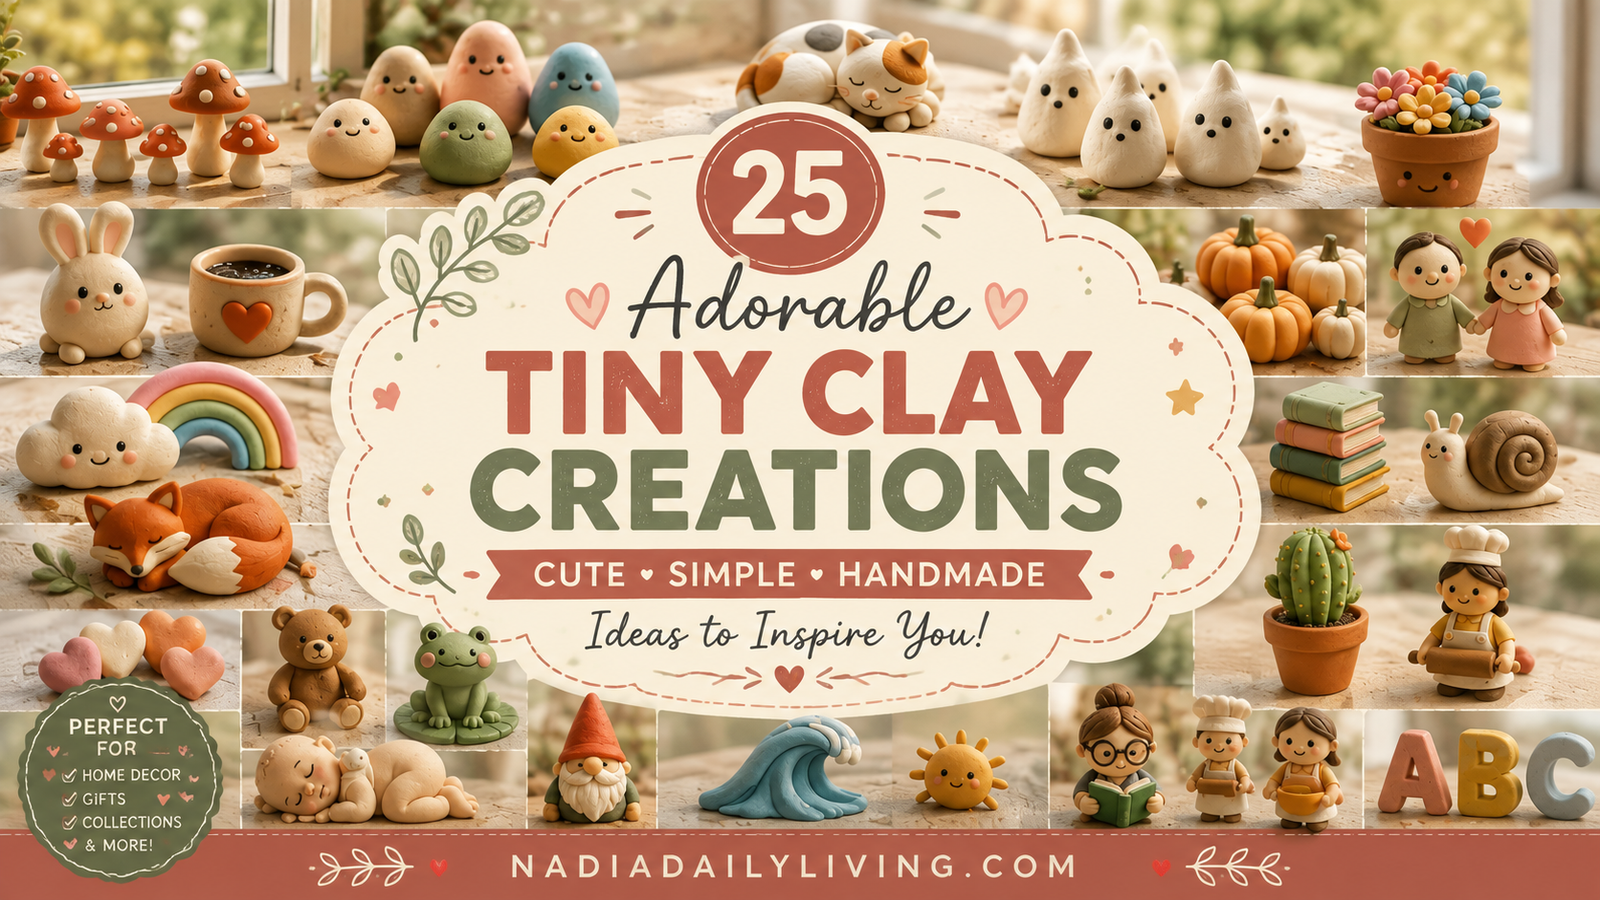
Below you’ll find 25 cute clay figure ideas anyone can make at home, from tiny mushrooms to little people and cozy seasonal pieces. Whether you’re making these for your own shelf, as gifts, or with your kids on a rainy afternoon, there’s something here for you.
Let’s get our hands a little messy.
Quick Style Guide
Best For: Beginners, Kids, Gift Making, Shelf Decor, Desk Decor
Style: Cute, Minimalist, Whimsical, Cottage, Modern
Budget: $
Difficulty: Easy
25 Cute Clay Figure Ideas Anyone Can Make at Home
1. Tiny Mushroom Family
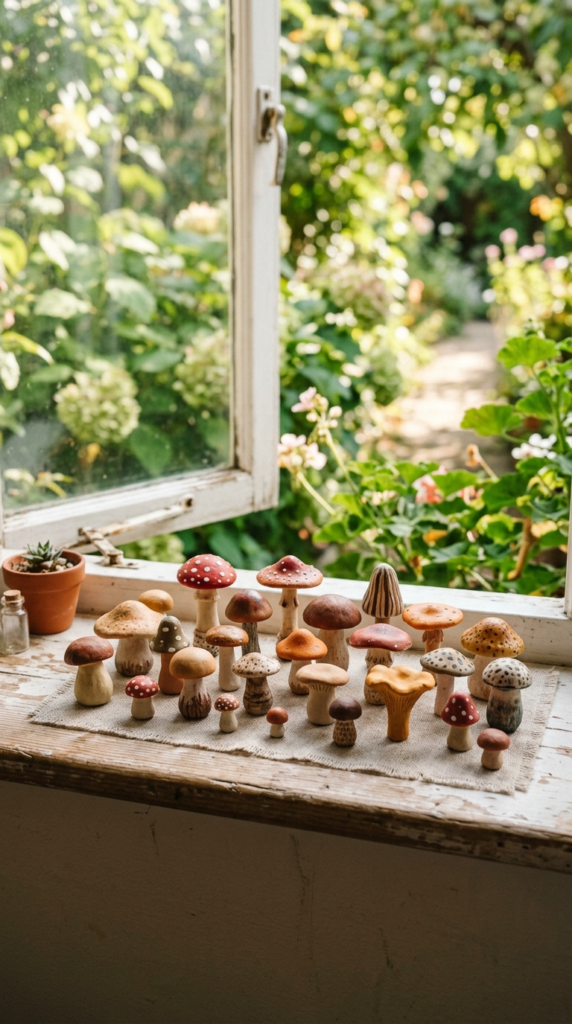
Roll small balls of clay for the mushroom tops and slightly thinner cylinders for the stems, then attach them together and add tiny painted dots. Make a few in different sizes to display together as a little family.
This is one of the easiest starting projects and looks adorable grouped on a windowsill.
Recommended accessories: air-dry clay, sculpting tool, acrylic paint
2. Mini Blob People
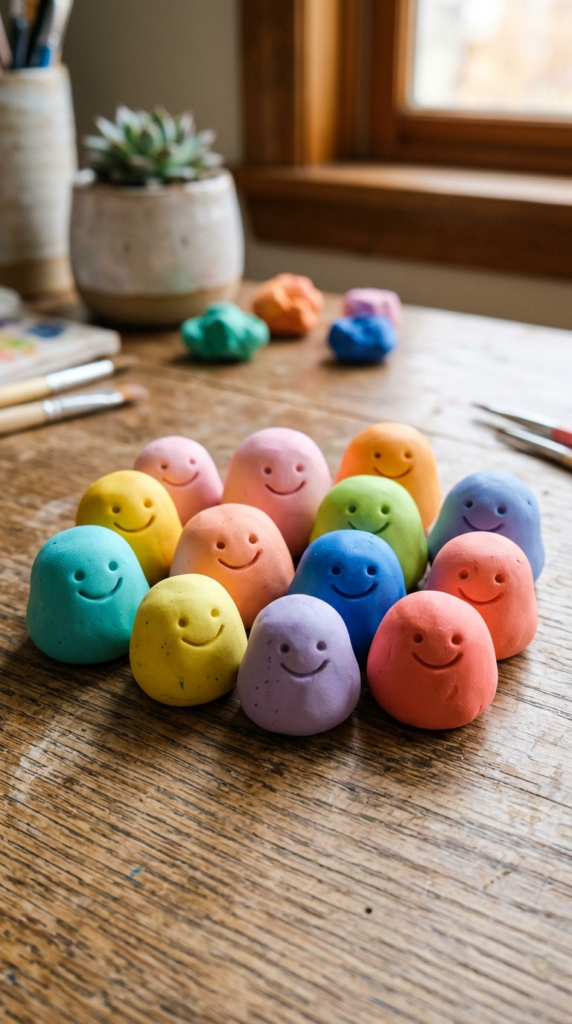
Shape a simple rounded body with two small feet, then add a smiley face and tiny arms using a toothpick for detail. These are wonderfully forgiving since imperfections just add to the charm.
They’re a favorite starter project because there’s really no way to get them wrong.
Recommended accessories: air-dry clay, toothpick, fine paintbrush
3. Little Sleeping Cat Figure
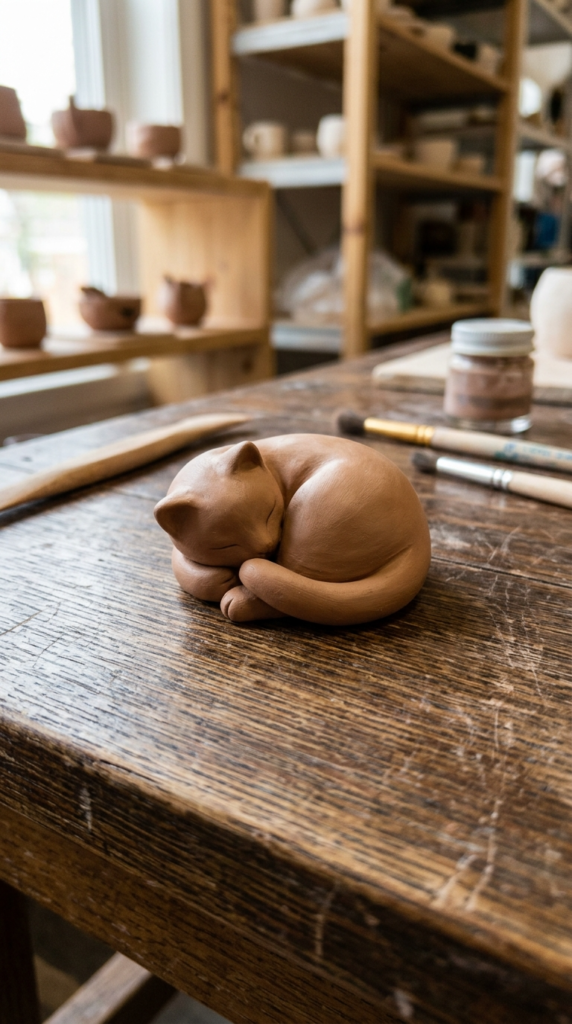
Curl a small piece of clay into a loaf shape, then use a toothpick to add simple ear and tail details. Smooth the surface gently for a soft, rounded look.
This tiny sleeping cat is one of the sweetest, simplest figures on this whole list.
Recommended accessories: air-dry clay, sculpting tool
4. Tiny Ghost Figures
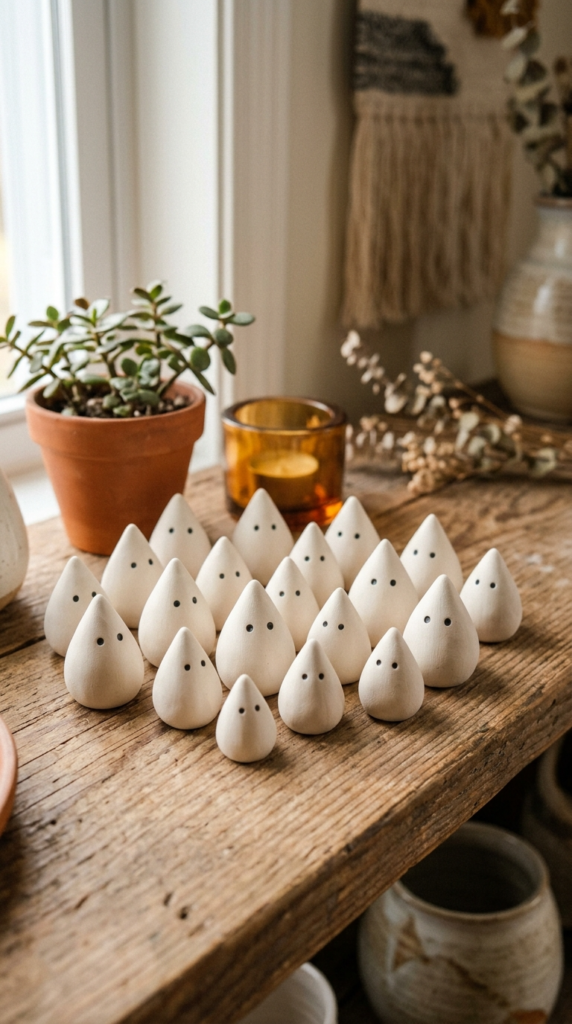
Shape a small teardrop form and smooth the base flat so it can stand upright, then add two small painted dot eyes. These are perfect for Halloween displays but sweet enough to keep out year-round.
Make a few in slightly different sizes for a cute little cluster.
Recommended accessories: white air-dry clay, black paint pen
5. Mini Flower Pot Figures
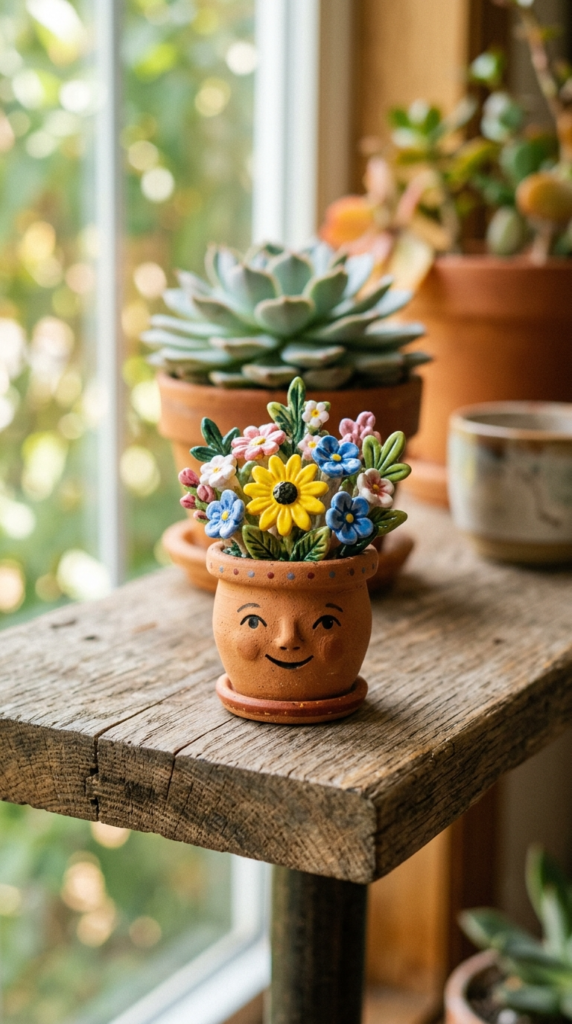
Sculpt a tiny pot shape, then top it with a small clay flower or a few painted dots to look like blooms. These make a lovely addition to a bookshelf or windowsill display.
They’re also a sweet, easy gift idea for a friend who loves plants.
Recommended accessories: air-dry clay, acrylic paint, fine brush
Nadia’s Decorating Tip Keep your first few figures simple. Basic shapes like balls, teardrops, and cylinders are the foundation for almost every cute clay figure idea, so mastering those first makes everything else easier.
6. Tiny Bunny Figure
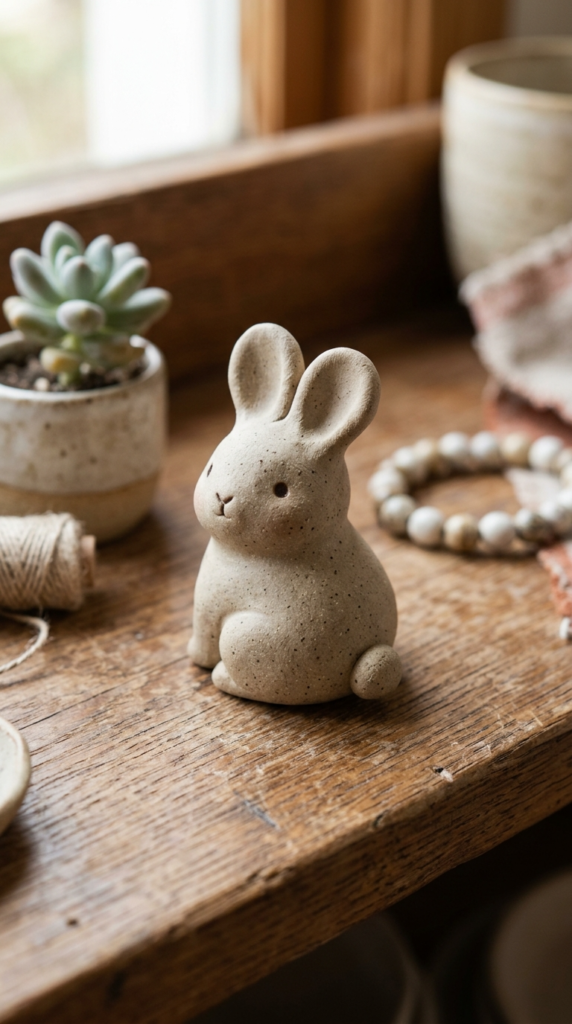
Shape an oval body with two small ears pressed onto the top and a tiny round tail on the back. Smooth all the seams gently so the figure feels soft and rounded.
This is one of the most popular figure shapes on Pinterest, and it’s easy to see why.
Recommended accessories: air-dry clay, sculpting tool
7. Little Coffee Cup Figure
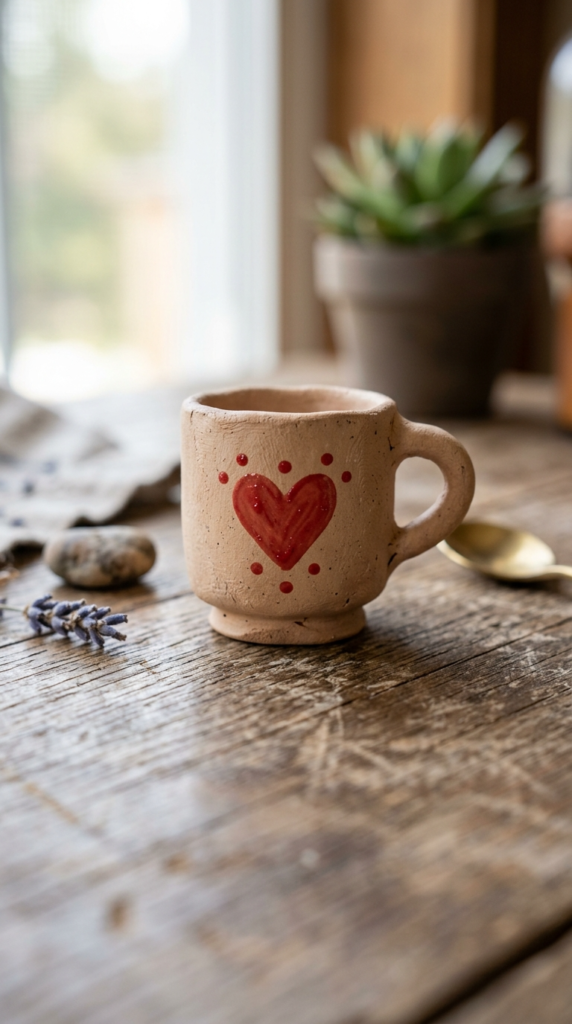
Sculpt a small mug shape with a tiny handle, then add a painted design or a heart on the side. Pair it with a mini figure holding the cup for an especially cute display.
This is a fun, low-pressure project to try once you’re comfortable with basic shapes.
Recommended accessories: air-dry clay, sculpting tool, acrylic paint
8. Mini Pumpkin Cluster
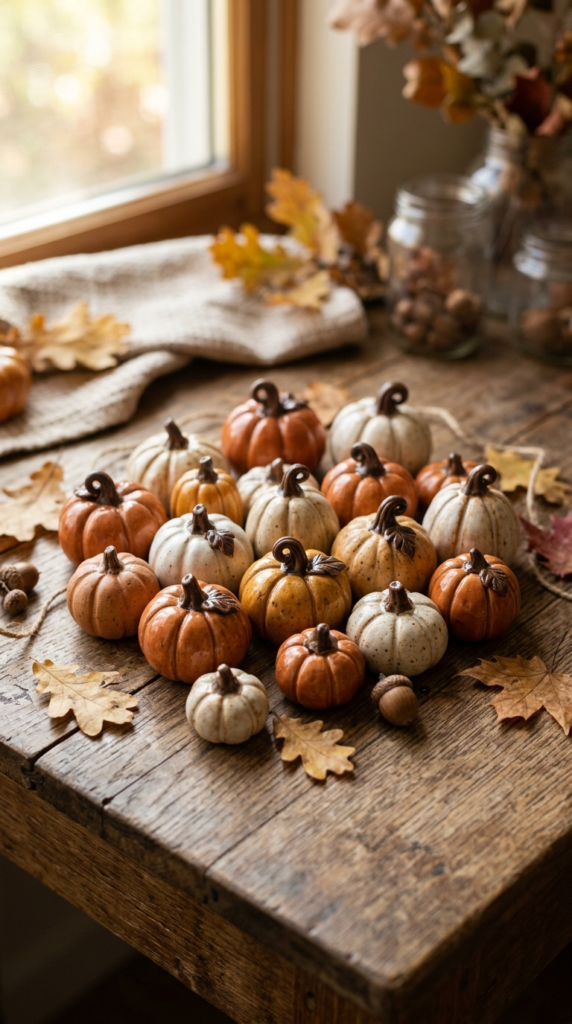
Shape small round pumpkins with vertical lines pressed in using a toothpick, then add a tiny stem on top. Paint in classic orange or try white and cream for a more elegant look.
These are perfect for fall shelf styling alongside your other seasonal decor.
Recommended accessories: air-dry clay, toothpick, acrylic paint
9. Tiny Couple Figures
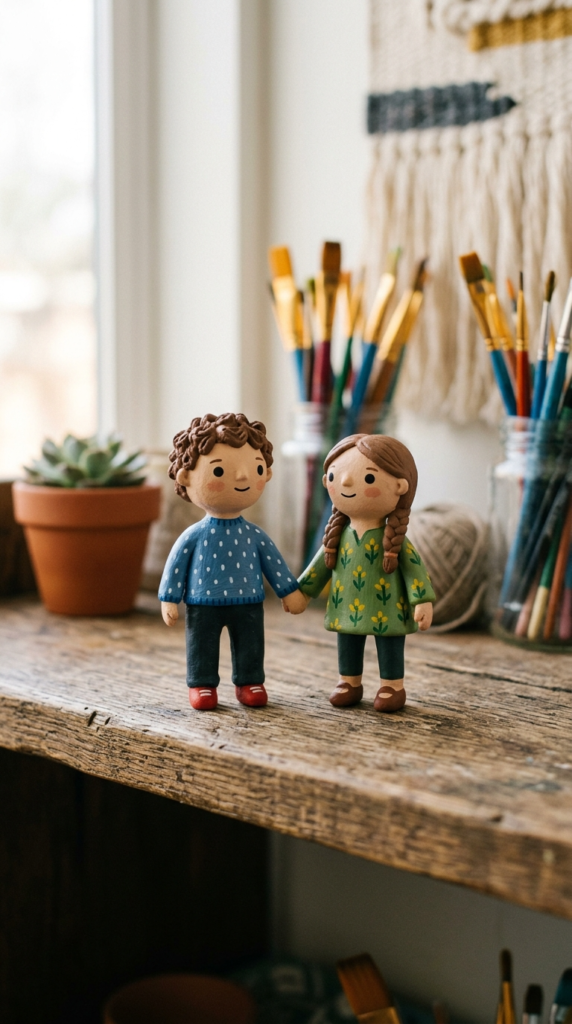
Sculpt two simple blob-style figures holding hands, giving each one a small distinguishing detail like hair color or an accessory. These make an adorable, personalized gift for a partner or friend.
Keep the shapes simple so the finished pair feels charming rather than overly detailed.
Recommended accessories: air-dry clay, fine paintbrush, toothpick
10. Mini Cloud and Rainbow Figure
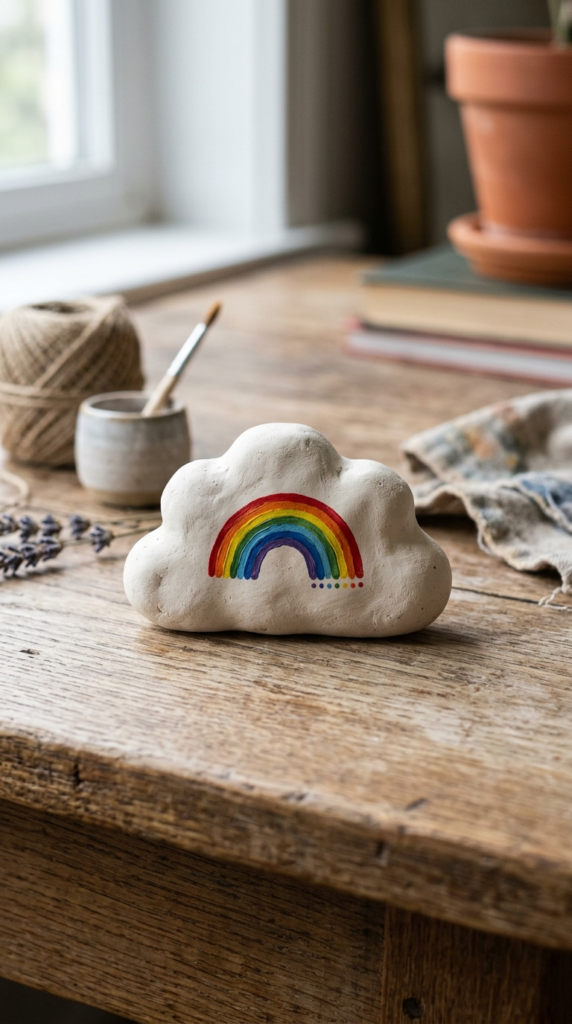
Shape a soft, rounded cloud form and add a small painted rainbow arching over the top. This whimsical figure is a sweet addition to a kid’s shelf or a nursery display.
It’s also one of the simplest shapes to sculpt on this entire list.
Recommended accessories: air-dry clay, acrylic paint, fine brush
Nadia’s Decorating Tip Let your clay figures air dry fully before painting, usually 24 to 48 hours depending on size. Painting too early can smudge the shape and undo all your careful sculpting.
11. Tiny Sleeping Fox Figure
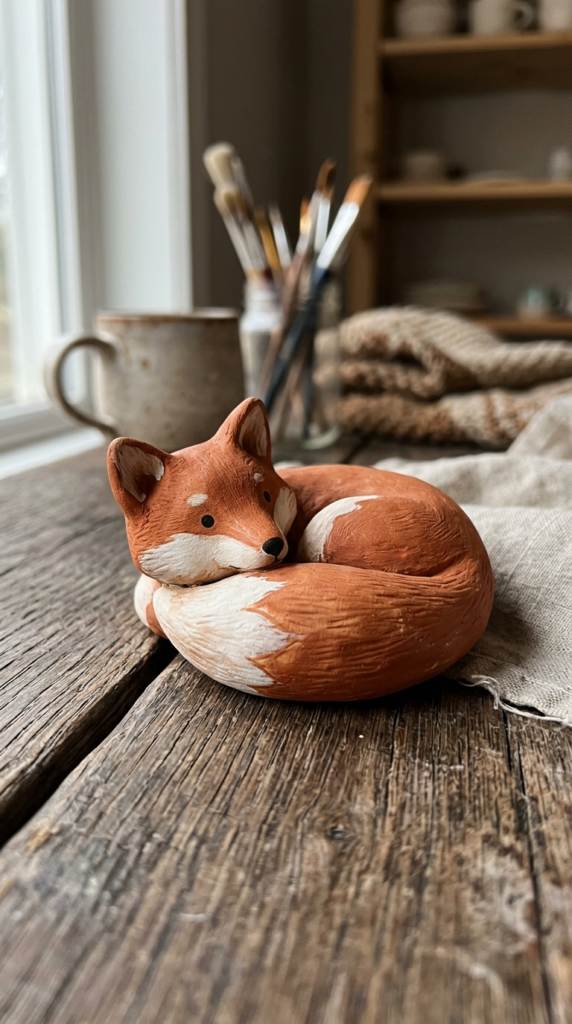
Curl a small clay form into a loaf shape similar to the sleeping cat, then add pointed ears and a fluffy tail detail using a sculpting tool. Paint in soft orange and white tones.
This is a beloved shape for cozy, woodland-themed shelf displays.
Recommended accessories: air-dry clay, sculpting tool, acrylic paint
12. Mini Book Stack Figure

Sculpt a few small rectangular shapes and stack them to resemble tiny books, then paint each one a different color for the spines. Add a tiny clay bookmark peeking out for extra detail.
This is a sweet accessory piece to place beside your other clay figures.
Recommended accessories: air-dry clay, acrylic paint, fine brush
13. Little Snail Figure
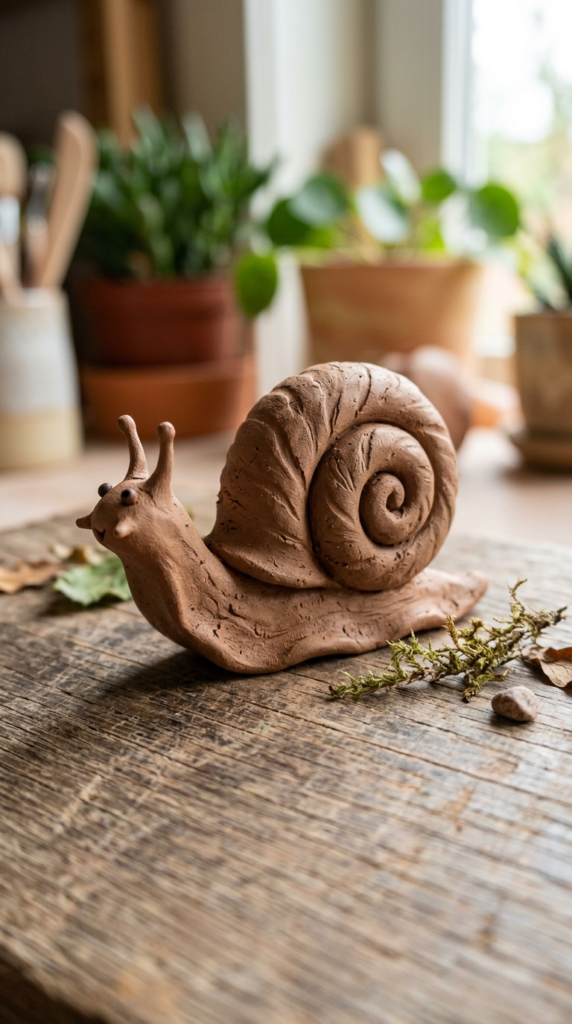
Shape a small coiled spiral for the shell and attach it to a simple elongated body with two tiny antennae on top. This shape is more advanced than a basic blob but still very beginner-friendly.
Paint the shell in a soft pastel or earthy tone for a natural look.
Recommended accessories: air-dry clay, sculpting tool, acrylic paint
14. Mini Heart Figures
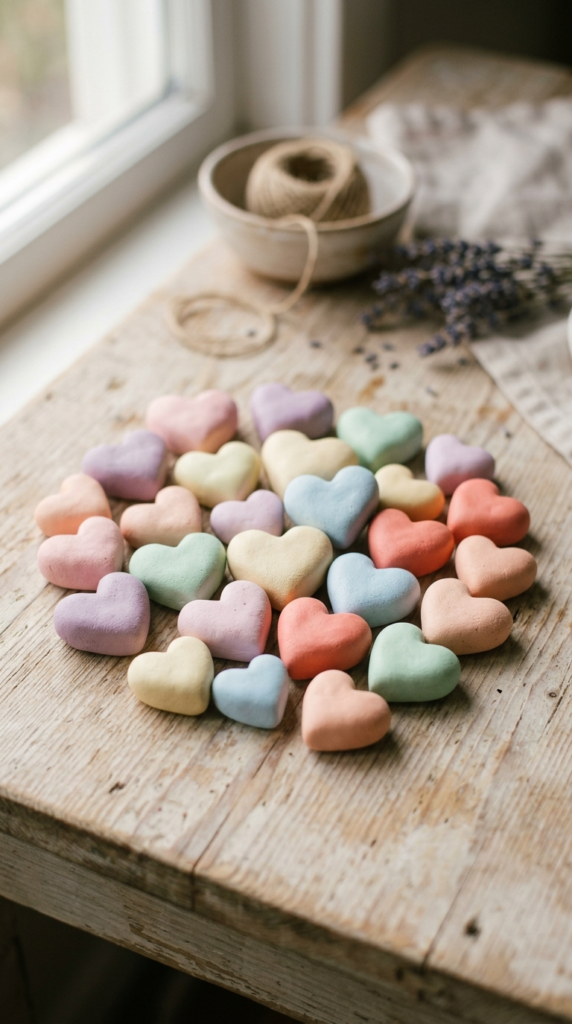
Shape small, slightly rounded hearts and smooth the edges so they feel soft rather than sharp. These are a simple, sweet project perfect for Valentine’s Day gifts or everyday shelf decor.
Try adding a tiny face to a few for a playful twist.
Recommended accessories: air-dry clay, sculpting tool, acrylic paint
15. Tiny Sitting Bear Figure
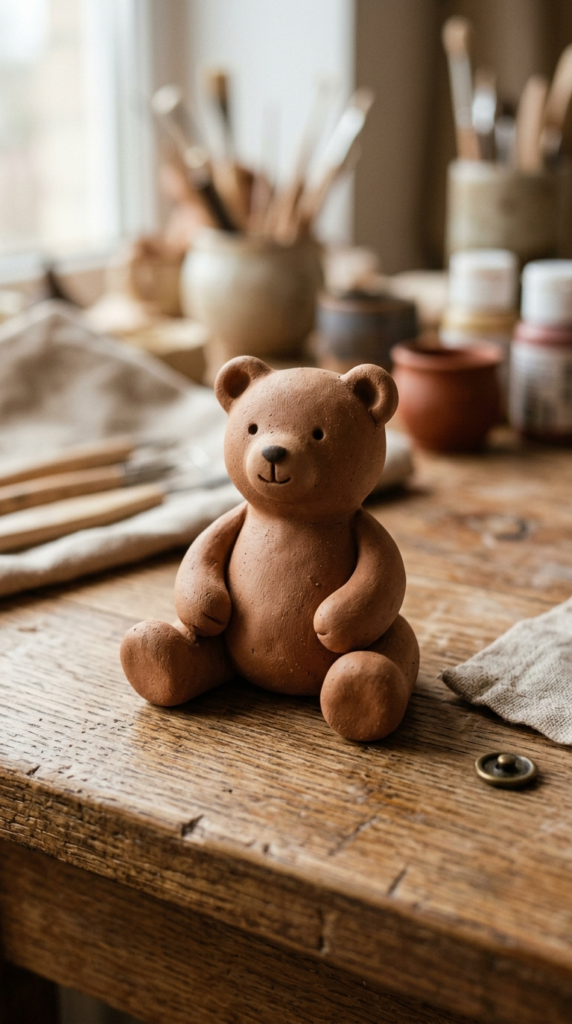
Shape a rounded body with small ears and short limbs, positioning the figure in a simple seated pose. Keep the proportions soft and rounded for maximum cuteness.
This is a lovely figure to make as a set with the bunny and fox for a woodland collection.
Recommended accessories: air-dry clay, sculpting tool, acrylic paint
Nadia’s Decorating Tip Display your finished figures in small groupings of three or five rather than spreading them out individually. Grouped displays always look more curated and intentional.
16. Mini Frog on a Leaf
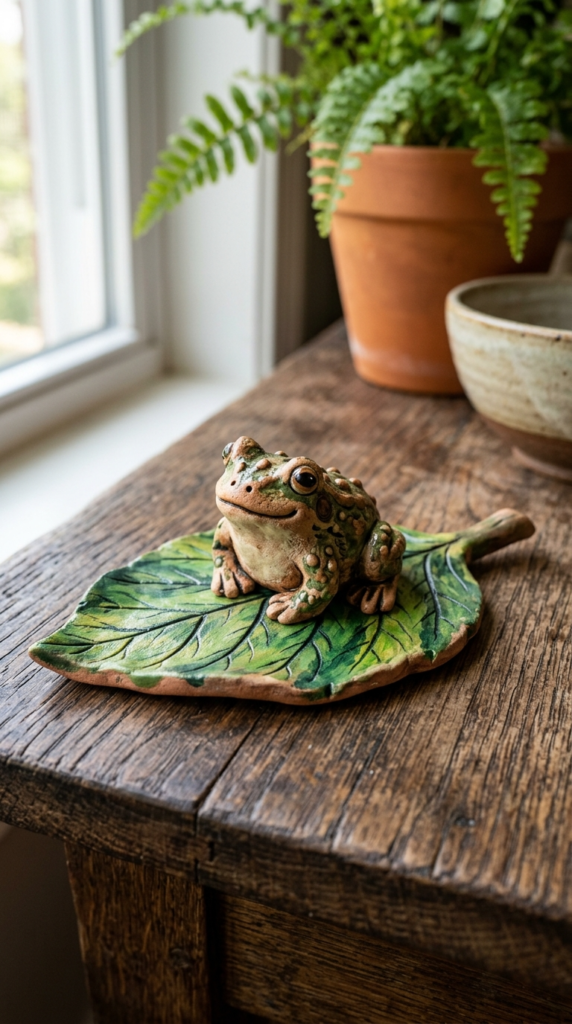
Sculpt a small rounded frog shape and place it on a flat, painted leaf base. Add tiny painted dot eyes and simple markings for extra charm.
This is a fun, slightly more advanced project once you’re comfortable with basic figure shapes.
Recommended accessories: air-dry clay, sculpting tool, acrylic paint
17. Tiny Star Figures
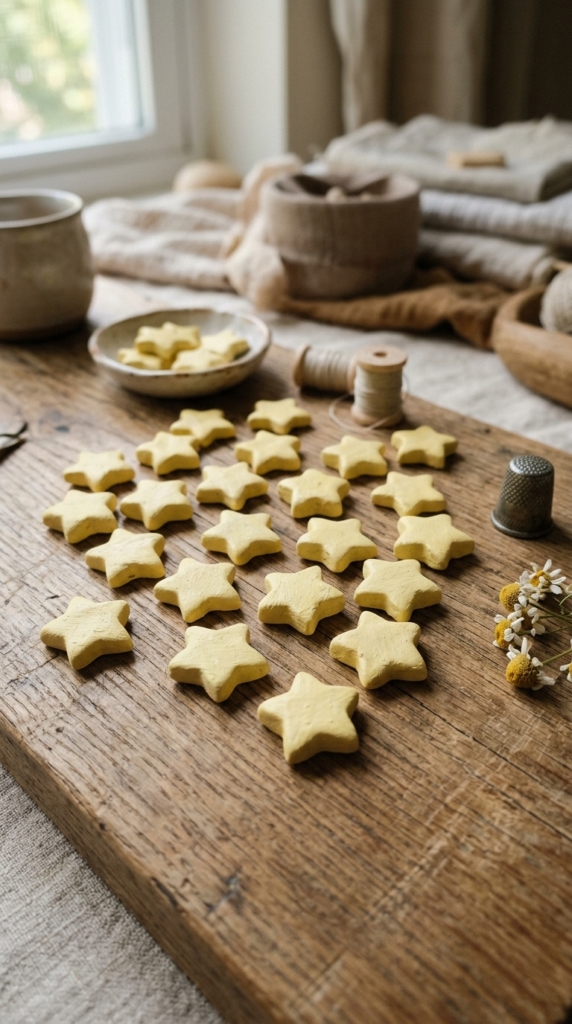
Shape small star forms with soft, rounded points rather than sharp edges, then paint in soft yellow or pastel tones. These pair beautifully with the cloud and rainbow figure for a dreamy display.
They’re an easy project for kids to help with too.
Recommended accessories: air-dry clay, acrylic paint, fine brush
18. Little Reading Figure
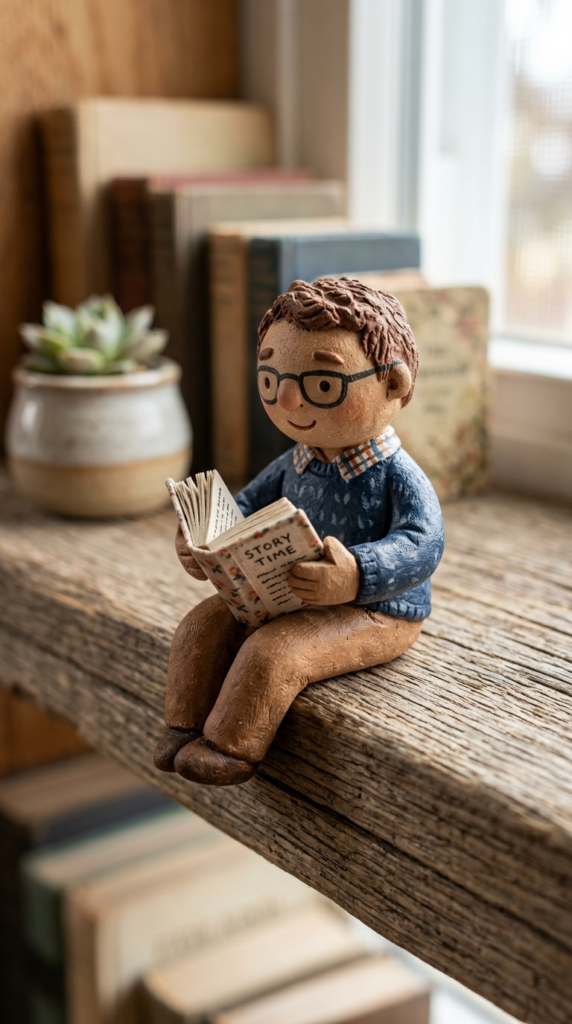
Sculpt a simple seated blob figure holding a tiny book made from a flattened rectangle of clay. This is such a sweet figure for a reader’s shelf or bedside table.
Add a small pair of glasses using a toothpick for extra personality.
Recommended accessories: air-dry clay, sculpting tool, acrylic paint
19. Mini Cactus and Planter Figures
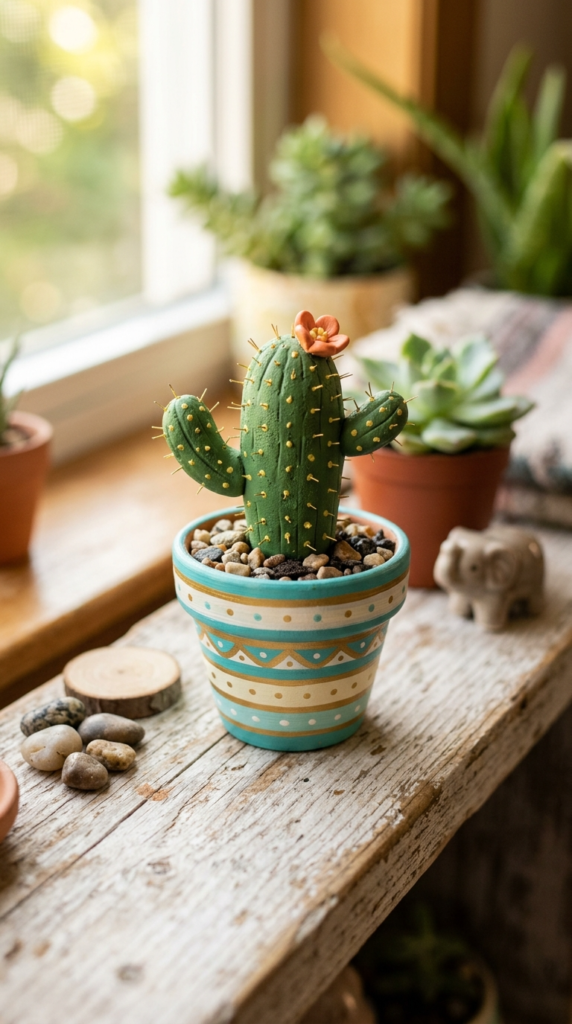
Shape a small cactus form with tiny bumps pressed in for texture, then place it in a mini clay pot base. Paint in soft green with a contrasting pot color.
These are a fun, low-maintenance alternative to real plants for your desk.
Recommended accessories: air-dry clay, sculpting tool, acrylic paint
20. Tiny Baking Figure
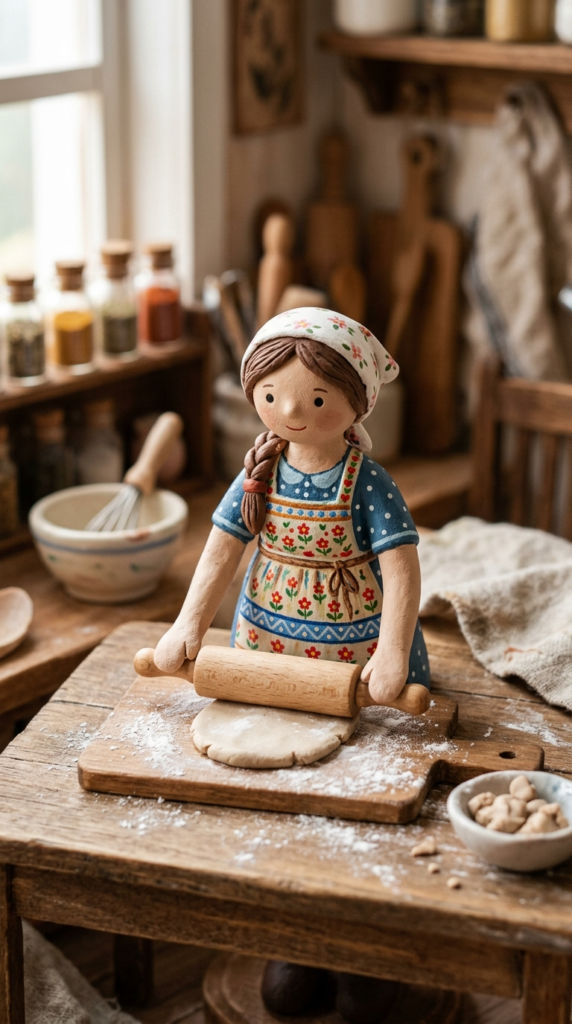
Sculpt a simple blob figure holding a tiny rolling pin or mixing bowl made from extra clay. This is a sweet, personalized figure idea for someone who loves to bake.
Add a small apron detail with paint for extra charm.
Recommended accessories: air-dry clay, sculpting tool, acrylic paint
Nadia’s Decorating Tip Keep a small notebook of your favorite figure combinations, like the fox, bear, and bunny trio. Building little collections makes your finished display feel more thoughtful and complete.
21. Mini Moon and Star Figure
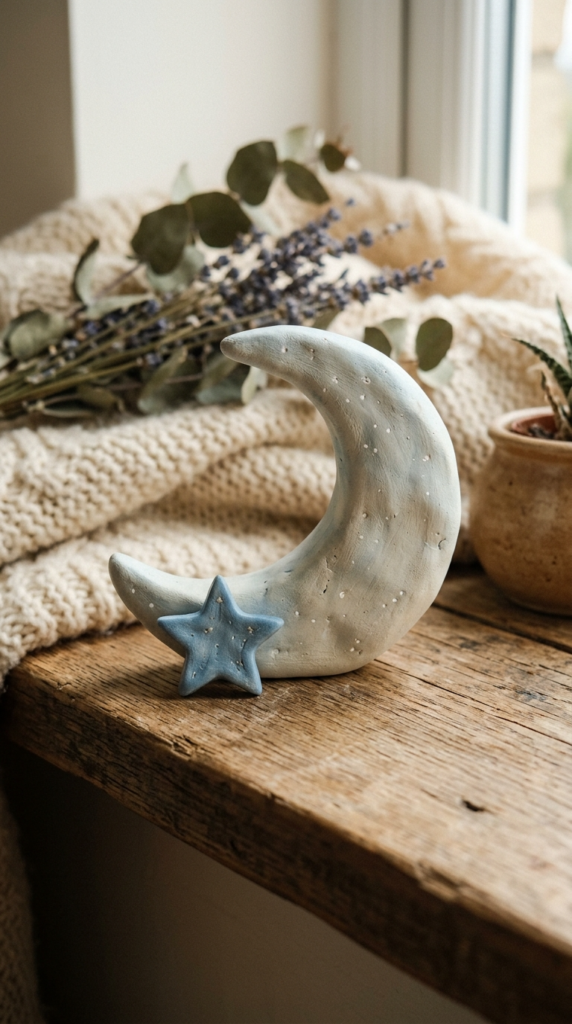
Shape a soft crescent moon form with a small star resting beside it, then paint in a pale yellow or cream tone. This whimsical duo works beautifully on a nightstand or nursery shelf.
Keep the shapes simple and rounded for the softest, most charming look.
Recommended accessories: air-dry clay, acrylic paint, fine brush
22. Tiny Sleeping Baby Figure
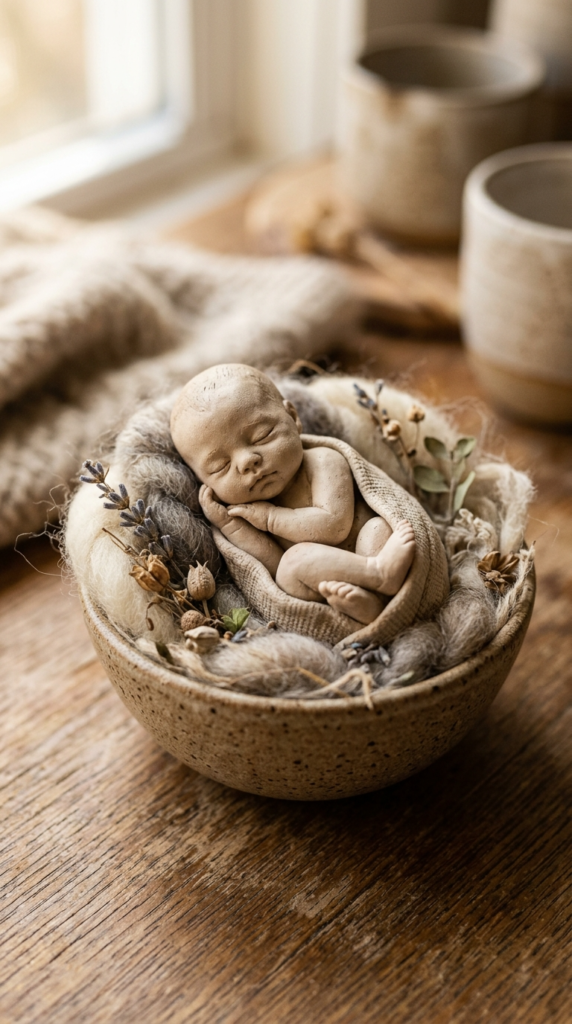
Sculpt a small, softly rounded figure in a curled sleeping position, keeping all edges smooth and gentle. This is a popular keepsake figure idea for new parents or nursery decor.
Paint in soft neutral tones for the most timeless look.
Recommended accessories: air-dry clay, sculpting tool, acrylic paint
23. Little Gnome Figure
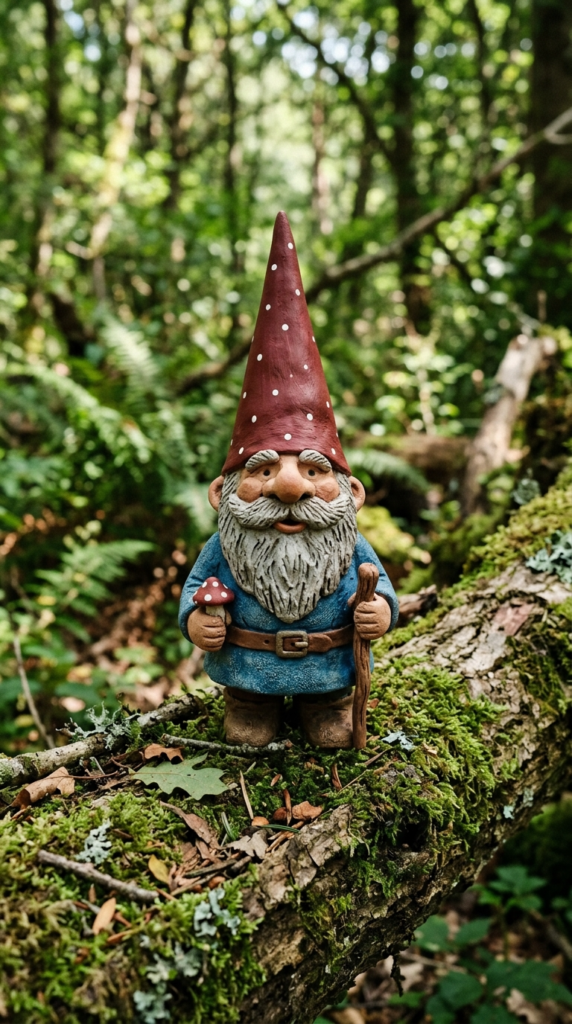
Shape a simple rounded body topped with a tall, pointed hat, then add a small painted beard detail. Gnomes are endlessly popular on Pinterest and always feel cozy on a shelf.
Make a few in different hat colors for a fun collection.
Recommended accessories: air-dry clay, sculpting tool, acrylic paint
24. Mini Wave and Sun Figure
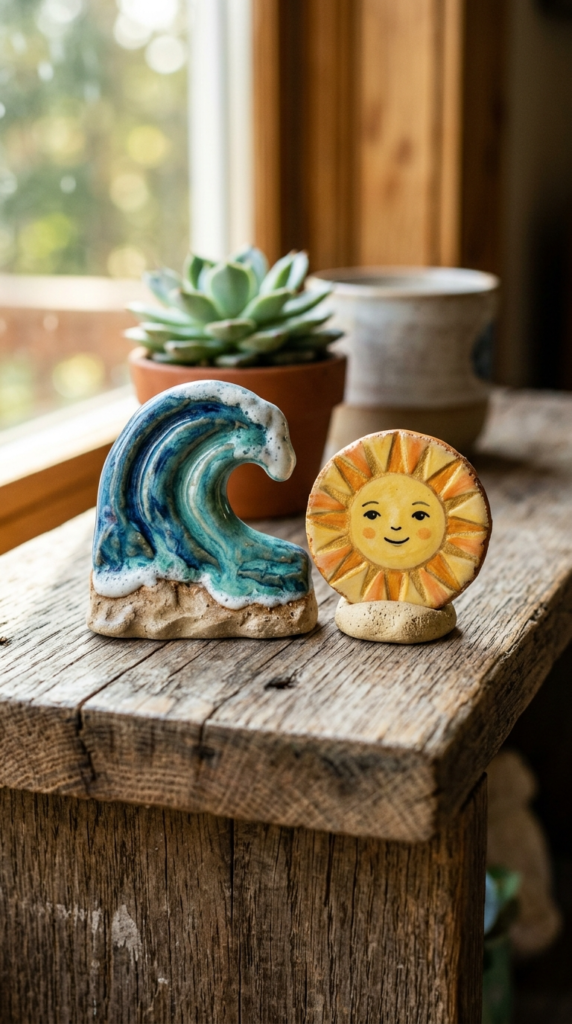
Sculpt a small curved wave shape paired with a tiny sun figure, then paint in soft blue and yellow tones. This playful pairing brings a cheerful, coastal feel to any shelf.
It’s a lovely project to make ahead of summer, but sweet to display any time of year.
Recommended accessories: air-dry clay, sculpting tool, acrylic paint
25. Personalized Initial Figures
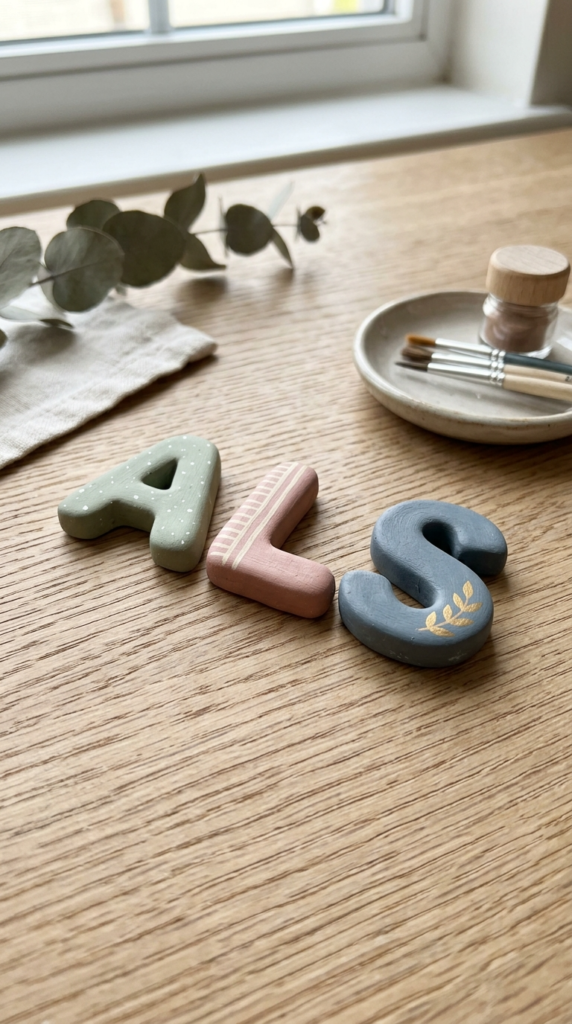
Shape small rounded letters to spell out a name or initial, then paint each letter in a coordinating color. These make a lovely personalized gift or a sweet addition to a shelf display.
Keep the letters chunky and rounded so they stay sturdy once dry.
Recommended accessories: air-dry clay, sculpting tool, acrylic paint
[Idea 25 Image] Alt text: personalized clay initial figures on a shelf
Nadia’s Decorating Tip Seal your finished figures with a matte varnish once the paint is fully dry. This small step protects your work and gives it a soft, professional finish.
Why You’ll Love This Trend
- Most figures only require a few basic shapes, making them beginner-friendly
- Air-dry clay is inexpensive and easy to find at any craft store
- These figures make sweet, personalized gifts for very little cost
- They’re a relaxing, low-pressure craft you can do solo or with kids
- Finished figures display beautifully on shelves, desks, and nightstands
- They photograph wonderfully, making them perfect for Pinterest inspiration
How to Recreate This Look
- Start with basic shapes like balls, teardrops, and cylinders before attempting anything detailed.
- Keep your clay slightly moist while sculpting to prevent cracking.
- Use a toothpick or simple sculpting tool for small details like eyes and texture.
- Let your figures air dry fully, usually 24 to 48 hours, before painting.
- Paint with acrylic paint and a fine brush for the cleanest details.
- Seal finished pieces with a matte varnish for a polished, lasting result.
Common Crafting Mistakes to Avoid
- Working with clay that’s too dry. Keep it lightly moistened while sculpting to avoid cracking.
- Painting too early. Always let your figure fully air dry before adding paint.
- Making figures too thin. Delicate details can snap easily once dry, so keep shapes sturdy.
- Skipping the sealant step. A matte varnish protects your finished piece and prevents paint from chipping.
- Rushing the details. Small features like eyes and expressions benefit from a slow, steady hand.
- Overcrowding a display. Group figures in small, intentional clusters rather than spreading them everywhere at once.
Nadia’s Favorite Styling Tips
- Group figures in odd numbers, like three or five, for the most curated look.
- Stick to a soft, coordinated color palette across a themed set of figures.
- Display finished pieces on a small tray or shelf ledge to keep them organized.
- Keep a bit of extra clay on hand for quick repairs before figures fully dry.
- Let kids help with simple shapes like balls and hearts for an easy family project.
- Store unused clay in an airtight bag between crafting sessions to keep it workable.
- Take photos of your figures against a simple, neutral background for the best Pinterest shots.
Frequently Asked Questions
What kind of clay is best for beginner clay figures? Air-dry clay is the easiest option for beginners since it requires no oven or kiln and is very affordable.
How long does it take for clay figures to dry? Most small figures take about 24 to 48 hours to fully air dry, depending on their size and thickness.
Do I need special tools to make clay figures? Not really. A toothpick and a simple sculpting tool are enough for most of the ideas on this list.
How do I paint clay figures once they’re dry? Acrylic paint works beautifully on air-dry clay, and a fine brush helps with small details like faces.
Can kids make these clay figure ideas too? Yes. Simple shapes like blob people, hearts, and mushrooms are perfect, low-mess projects for kids to help with.
How do I keep my clay figures from cracking? Keep the clay lightly moist while sculpting, avoid overly thin details, and let pieces dry slowly and fully.
What can I do with finished clay figures? They’re lovely for shelf and desk decor, personalized gifts, or as sweet keepsakes for a nursery or bedside table.
Should I seal my clay figures after painting? Yes. A matte varnish protects the paint and gives your figure a soft, finished look.
Conclusion
There you have it, friend. Twenty-five cute clay figure ideas anyone can make at home, proving that a little bit of clay and a lot of patience can turn into something truly charming.
Whether you start with a simple mushroom or work your way up to a tiny gnome or personalized initial, these projects are relaxing, affordable, and so satisfying to display once finished. Pick a few that speak to you, and let your shelf collection grow one little figure at a time.
Save this post to Pinterest so you have it ready for your next crafting afternoon.
More Home Decor Inspiration
Looking for more beautiful home decorating ideas? Visit Nadia Daily Living for cozy decorating inspiration, seasonal home styling, affordable decorating tips, DIY ideas, organization hacks, and beautiful interiors you’ll love.
Keep the crafting inspiration going with these reader favorites:
- 15 DIY Halloween Garlands and Banners for Your Home
- 25 Fall & Halloween DIY Projects Couples Can Make Together
- 20 DIY Halloween Decorations and Spooky Crafts for Your Home
- 25 DIY Christmas Wreath Ideas for Every Style
Happy Crafting!
— Nadia James
Founder & Editor Nadia Daily Living